Open source tip: Rescuezilla, the versatile backup solution
Guide

Open source tip: Rescuezilla, the versatile backup solution

Martin Jud
6-9-2024
Translation: Megan Cornish

Rescuezilla allows you to back up and restore entire drives or individual partitions. And the backup solution – which runs from a USB stick – offers even more.

Good software doesn’t necessarily have to cost anything. Backup solution Rescuezilla is a powerful tool that you boot from a USB stick. You can use it to back up and restore any system – for Linux, macOS and Windows. For example, you can use it to switch from Windows to Linux and switch back if you need to.

Rescuezilla is open source and bundles a mix of software into a standalone operating system. It runs from a USB stick and is based on Ubuntu, using Clonezilla for backups and giving it a graphical interface. This means it can also be used by beginners who would otherwise use Acronis True Image or another paid solution.

Relatively easy installation

Rescuezilla is only a little over a gigabyte in size, so you only need a small USB stick. If you have one to hand, download the .iso file of the latest version from the download page. Then, use a tool that can write system images to USB storage devices and memory cards. BalenaEtcher is one example of this and is available for all common operating systems. It’s self-explanatory – remember that any data on the stick will be irretrievably deleted during the process.
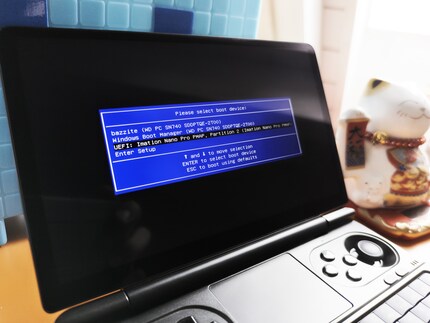
If you don’t know which entry to select in the boot menu, pay attention to the USB stick manufacturer. In my case, it’s Imation.
Source: Martin Jud

Once the stick’s ready, look online for instructions on how to boot your PC from an external storage medium. Searching for the PC brand or name and «boot menu» should lead you to your goal.

Many manufacturers allow you to boot from a stick or disc by turning on the PC and repeatedly pressing the F7, F8 or F12 key until you see the menu shown in the image above. Then use the arrow keys to select the right storage medium and press Enter.

The rest is self-explanatory. You choose your language, confirm the start, wait a few seconds and you’re ready to go.

What Rescuezilla’s backup solution offers

After successfully booting from the stick, the Rescuezilla application is executed immediately, greeting you with an overview page.
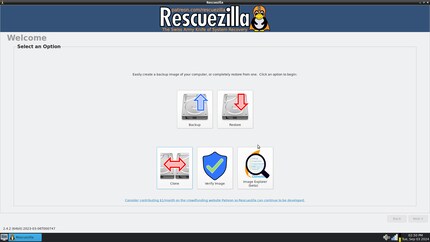
What do you want to do? Create a backup, restore one or clone a drive?
Source: Screenshot / Martin Jud

Here you can:

  • start the backup process (entire drive or single/multiple partitions)
  • restore backups
  • clone a drive
  • verify a backup image
  • extract data from a backup image

The last point, the Image Explorer, is still in the beta stage, so mounting and selectively copying files from a backup may not work smoothly. Nevertheless, it’s one of this tool’s most interesting functions.

If you make a drive backup with Rescuezilla, these are the next steps after you click Backup:
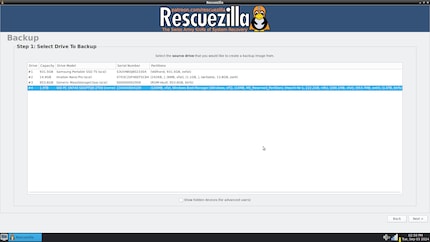
  1. Select the source drive you want to back up – or the one from which you want to back up individual partitions.
Select the source drive..
Source: Screenshot/Martin Jud
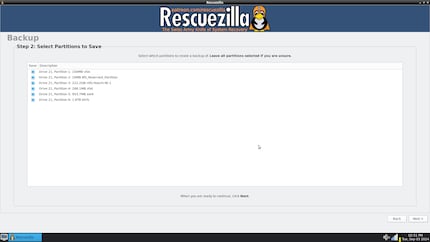
  1. Clicking Next preselects all partitions of the source drive. If you want to back up the entire drive, you can click Next again. If not, deselect everything that you don’t want to back up.
Select the partitions you want to back up.
Source: Screenshot/Martin Jud
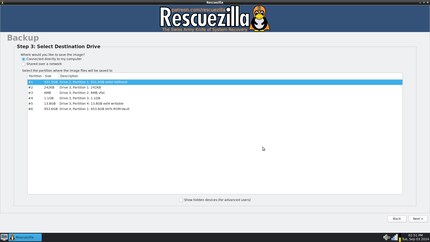
  1. It’s time to choose your target drive. You can select internal and external storage media as well as network drives. If you have network-attached storage, you can integrate it and alternatively save the backup directly to it (and also restore it from there). However, depending on the situation, it may be faster to first back up to an external SSD and then transfer it.
Select the target drive (you can also use network drives).
Source: Screenshot/Martin Jud
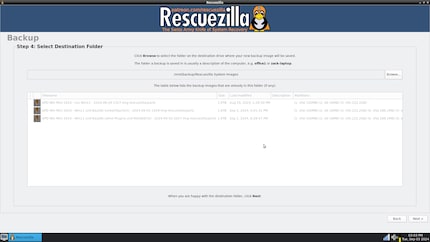
  1. Select the destination folder. Mine already contains previous backups, which will be displayed after selecting them.
Select the destination folder.
Source: Screenshot/Martin Jud
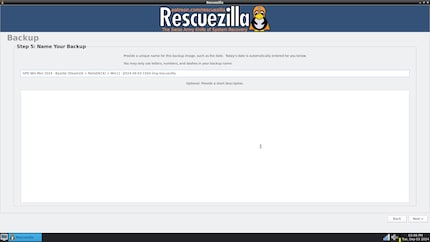
  1. Give the backup a name.
Enter the backup name.
Source: Screenshot/Martin Jud
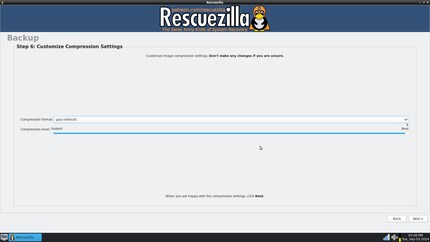
  1. Select the desired compression format and compression level. The options are gzip, zstandard, bzip2 and uncompressed.
Select the compression format and compression level.
Source: Screenshot/Martin Jud
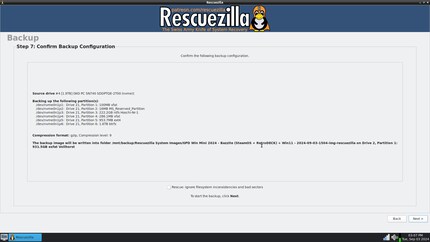
  1. Before the backup process starts, Rescuezilla shows you a summary of the configuration you made in the previous steps. Clicking Next again starts the backup.
Check the summary and start the backup process.
Source: Screenshot/Martin Jud

Now you can sit back until the process is complete.
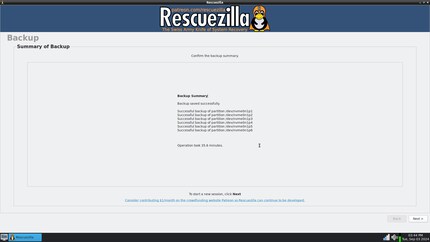
Within 36 minutes, Rescuezilla wrote 210 gigabytes to the target drive, an external SSD.
Source: Screenshot/Martin Jud

Restoring, cloning or verifying with Rescuezilla is just as simple as backing up. There are always clear, individual steps to follow.

What else you can do with the Rescuezilla USB stick

In addition to the backup application, Rescuezilla offers other useful functions. You get an intuitive operating system. Thanks to Firefox, you can surf the internet or – as I’m doing right now – type away in the text editor, Mousepad.
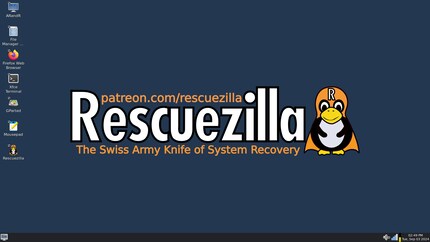
Clicking on the bottom left opens a start menu with additional applications.
Source: Screenshot/Martin Jud

The most important other applications are:

  • GParted – partitioning software that deserves its own open source tip
  • PCMan File Manager – a fast and slim file explorer
  • Xfce Terminal – a slim terminal emulator
  • TestDisk – data recovery software (without a graphical user interface)
  • PhotoRec – data recovery software to recover deleted photos (without a graphical user interface)

I hope you liked this first open source tip, or ideally found it helpful. If so, please let me know by giving it a like. That way I’ll know it’s worth introducing you to other good free software. If you know of a Rescuezilla alternative that does a similarly good job, please let me know in a comment.

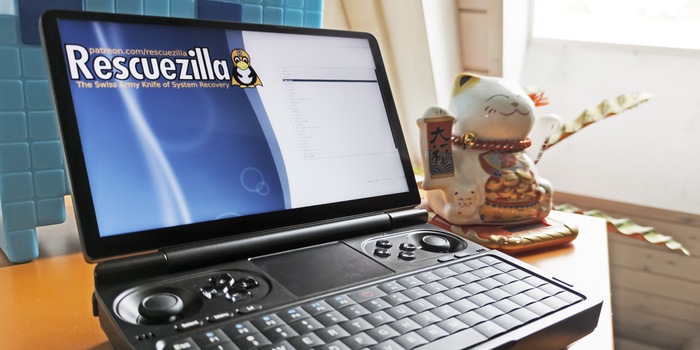
Header image: Martin Jud

206 people like this article


User Avatar
User Avatar

I find my muse in everything. When I don’t, I draw inspiration from daydreaming. After all, if you dream, you don’t sleep through life.


These articles might also interest you

Comments

Avatar