Guide
Where on earth can I get an alternative to the Apple Pencil?
by Michelle Brändle
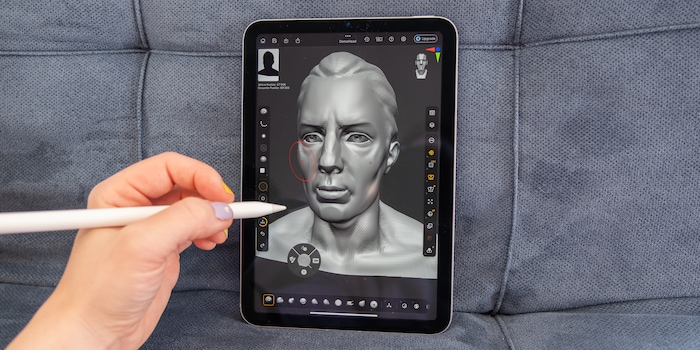
After 25 years of being exclusive to PC, 3D program ZBrush is now available on iPads for the first time. Here’s how to use it to create your first sculpture.
The developers behind successful 3D modelling app ZBrush have joined forces with Apple and adapted their PC program for the iPad. Compatibility with the Apple Pencil Pro allows you to shape figures and objects almost as if with modelling clay.
The iPad version can do a little less overall, but it’s not as complex as the PC version, making it more accessible. In a one-to-one online demonstration, ZBrush expert and designer Paul Gaboury showed me what you can do with the iPad program and how to get started.
One of the things that sets the ZBrush software apart from other 3D programs is the number of brushes. These brushes and the many customisable functions will supposedly be adapted to the iPad with its pen function in a further step, retaining many functions and clarity.
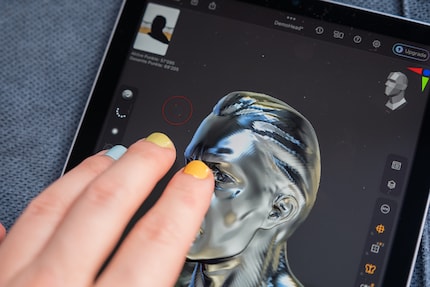
The result is a happy medium: ZBrush is also very comprehensive on the iPad, doesn’t necessarily need a keyboard and still offers a clean user interface. Another strength is that everything can be customised to your preferences.
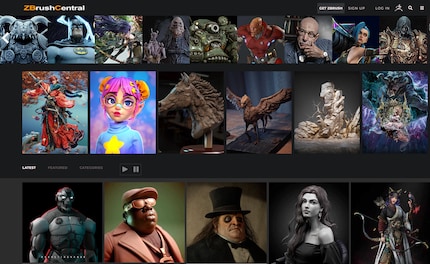
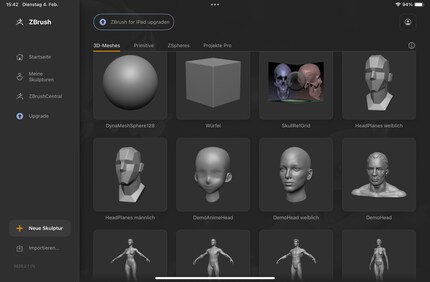
You’ll find various templates (3D meshes) that you can use as a base for your sculpture. These were created in collaboration with different artists and designers. Finished pieces are also shared on the official ZBrushCentral website.
Zbrush has created its own video tutorials for the iPad version to make it easier to get started. They’re divided into short chunks of around three minutes. If you want to delve deeper after reading this, it’s definitely worth taking a look.
To make things as efficient as possible, tools and functions are never hidden in the depths of drop-down menus. In fact, it’s the opposite: everything’s quick and easy to access. I can also drag frequently used functions to the top menu bars. More on that later. Here’s an overview of the workspace:
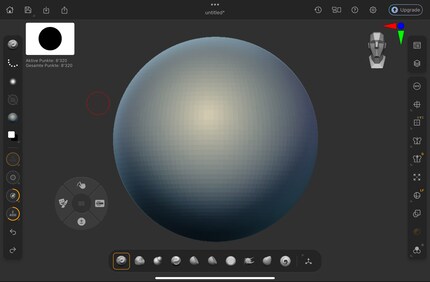
You’ll find the most common brushes on the toolbar at the bottom. On the left are the most important tools and adjustments such as colours, brush material, size and hardness. And on the right are tools for adjusting the canvas and how you apply material: creating symmetry – if I want to create several identical shapes – changing the perspective or displaying a grid. On the top right, I overlay various subtools, which are the individual parts of my sculpture.
In collaboration with numerous artists, ZBrush has created templates called 3D meshes. From the simplest shapes such as circles and cubes to complex bodies and objects, everything’s in the library so you don’t have to start from scratch. This is a huge help, especially to start with.
In the desktop version of Zbrush, I work a lot with a mouse and keyboard. In the iPad version, I use my fingers and a pen instead (or in addition). In place of a keyboard, there’s a floating shortcut bar.
You can use your fingers to rotate a sculpture, zoom in and out and shape it. This function can also be turned off if you’d rather only work with the stylus.
The standard gestures are the same as in other iPad programs such as Procreate and Goodnotes. For example, you can go back one step by tapping the screen twice.
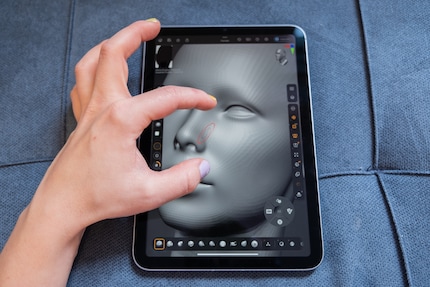
If you want to change the brush size, place three fingers on the screen and swipe up for a larger brush or down for a smaller one. For a softer or harder brush edge, swipe three fingers to the left or right.
Depending on the iPad you’re using, you need to make sure you have the right Apple Pencil. The standard Apple Pencil (1st or 2nd Gen) works just as well with ZBrush as the Apple Pencil Pro, but you’ll miss out on some additional features.
You can double-tap and gently squeeze the Apple Pencil Pro to open menus or activate functions. The controls can be customised in ZBrush. The hover function’s also helpful: if you hover over different icons, you’ll see labels which tell you what they’re for.
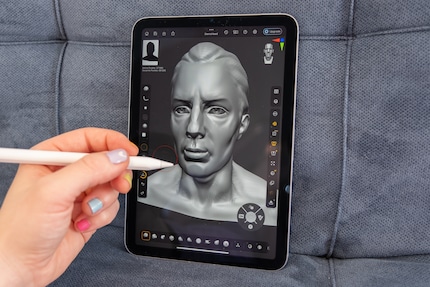
The brushes are a basis for shaping the sculpture and represent my fingers if I were shaping with clay. The main brush adds or removes layers, but there are also various shaping brushes, patterns and the like.
In total, there are over 200 brushes available on the iPad. The free version of ZBrush has just under 30. I’ll go into more detail about the differences between the subscription and free versions at the end of this article.
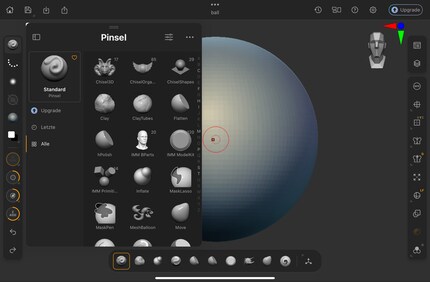
If you’re working with ZBrush for the first time, the number of brushes can be overwhelming, so the developers have included some of the most commonly used brushes in the toolbar at the bottom. I like to try these out to get a feel for how shaping works. Later on, I adapt the toolbar to include my favourite brushes. It’s simple: I just drag the brushes that I find in the brush folder in the left menu bar to the bottom. If you’ve been working with ZBrush for a while and have created your own brushes on the desktop version, they can be downloaded to the iPad (in the subscription version).
The desktop version of ZBrush mostly works with the keyboard via shortcuts. For the iPad, it was important to the developers that the app could also be used without a keyboard. The solution: a flying shortcut keyboard. The small rotary wheel can be placed anywhere on the workspace and assigned the most important functions. It’s preloaded with:
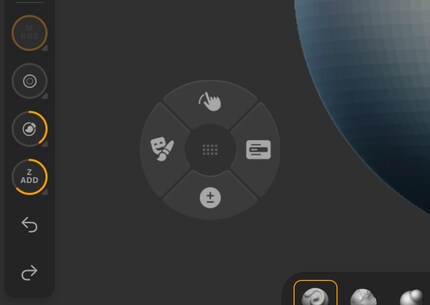
Pressing the lower icon on the dial and shaping your sculpture takes some mass away. If you let go of the button and shape normally, you add mass. This allows you to quickly switch between adding and removing mass.
The top icon is designed to smooth a mass. To the left is the masking function. Just like in Photoshop, you mark a part of the sculpture that you want to leave out. You can reverse this by tapping on the background.
If you want to put clothes on your still-naked figure or stack another ball on top of the first one, you create subtools – top right in the toolbar. These work in a similar way to layers. Each subtool can be edited, moved and painted individually. You can show or hide individual subtools as required.
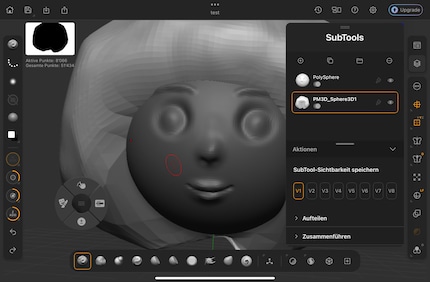
To get into a good workflow, it’s best to start with a small project. This will help you understand the possibilities I’ve covered so far.
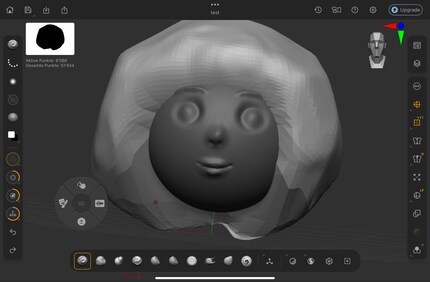
In addition to the main functions I’ve covered for your first 3D figure, there are numerous ways to make your work more efficient. For example, I adjust the symmetry and choose how often the mass I attach later should be mirrored on the X-axis. This means I only have to model one arm, while the second’s created automatically. There are many similar workflows in the program. But what you actually need in each case becomes clear almost automatically from the project in question.
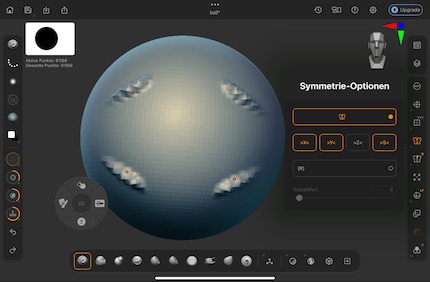
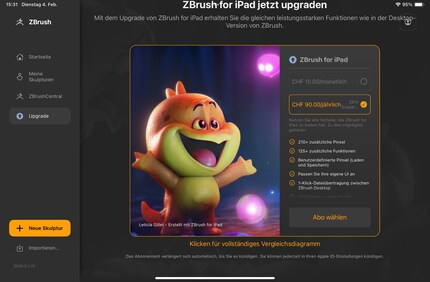
ZBrush is available in a reduced version for free in the Apple Store. To use all the options and brushes, you need a subscription. This currently costs 90 francs a year, or 10 francs a month. For this tutorial, I used the free version and it gave me a good feel for the program.
The subscription includes 210 additional brushes and over 100 functions. You can also create or import your own brushes and transfer your sculptures from your iPad to the desktop version at the click of a mouse. See more differences in the table by the developer of ZBrush, Maxon.
In my world, Super Mario chases Stormtroopers with a unicorn and Harley Quinn mixes cocktails for Eddie and Peter at the beach bar. Wherever I can live out my creativity, my fingers tingle. Or maybe it's because nothing flows through my veins but chocolate, glitter and coffee.