
Guide
Windows tip: how to sign out with one click
by Richie Müller
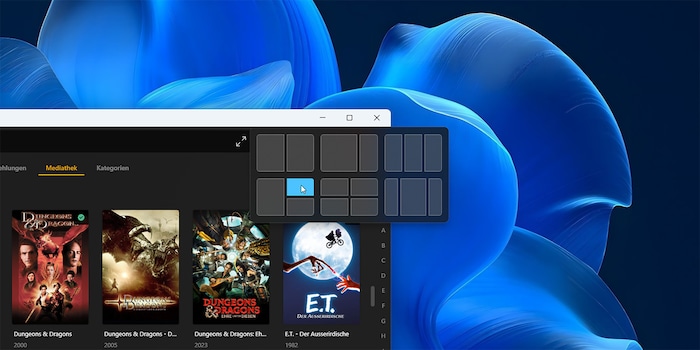
With the Windows Snap feature, you can organise your open windows in no time at all.
A few years ago, I still had two screens on my desk. They’ve since given way to a single, large display with a 35-inch diagonal. Thanks to the Snap feature, I don’t notice any disadvantages compared to having two screens; it allows me to organise my windows in a jiffy. Snap is great for small displays too. Here are the different ways you can use it – plus a bonus tip at the end.
Grab a window with the mouse, and you can move it freely. If you slide it to the edge of the screen, the Snap feature will activate.
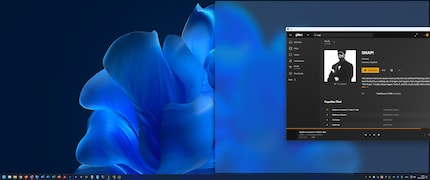
Windows then shows you a preview where the window will end up if you release the mouse button. Depending on where you drag and release the window, its position is determined as follows:
You can find out more about the layout overview under Option #3. If you move the window to the bottom edge, nothing happens (aside from it disappearing from view.)
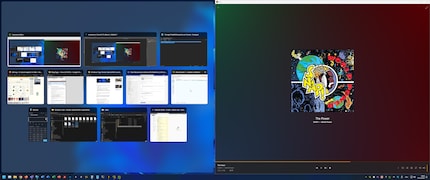
Regardless of which method you use, once the window has snapped into its new position, the Snap Assist tool appears. It shows you an overview of all open apps in the unoccupied portion of the screen. You can then click on the thumbnails of the open apps to fill up the rest of your screen.
Press Windows Key + Arrow, and the active window will be repositioned according to the arrow key.
If you want a window to take up a quarter of the screen, first snap it to the right or left half (Windows Key + Left/Right Arrow). Next, press Windows Key + Up/Down Arrow to have it snap to the desired quarter.
If you want to snap a window to the top half of the screen, maximise it first and then press Windows Key + Up Arrow.
At the top right of any window, there are buttons allowing you to minimise, maximise or close the window. If you hover the mouse over the maximise button, the Snap layout tool will appear.
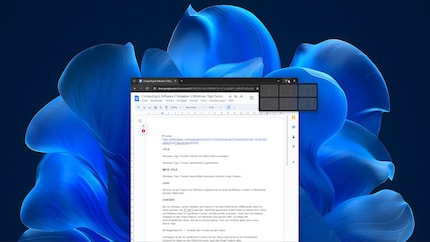
In addition to the classic halved or quartered layout, there are other handy options. Click on where you want to position the window in the Snap layout tool. After the window has taken up its position, an overview of your open apps will appear, allowing you to fill the rest of your screen.
When writing, I like to use the last layout in the Snap layout tool. It divides the screen into three parts, with the middle part being larger than the other two. Here’s my standard setup:
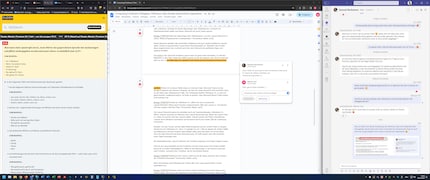
I type in the middle window, but have my browser open for doing research and Teams open for chatting. Which leads me to my point of criticism: Microsoft Teams is the only program on my computer in which the Snap layout tool doesn’t appear when hovering over the maximise button. It’s shameful that Microsoft hasn’t yet fixed this bug. On the bright side, the keyboard shortcut Windows Key + Z works. More on that in a moment.
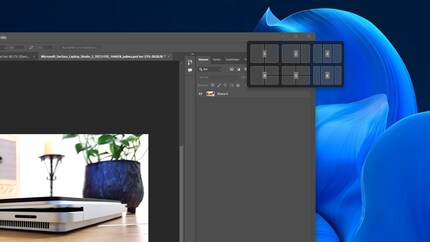
You can also open the Snap layout overview by pressing Windows Key + Z. It then appears, each layout numbered. First, press the number of your desired layout. The positions within the layout will then again be numbered. Select your desired position by pressing the corresponding number.
For example, to make the window occupy the right half of the screen, press Windows Key + Z, then 1 followed by 2. If you then want to fill the other half of the screen with another app, you will, unfortunately, have to reach for your mouse; Snap Assist isn’t numbered. I hope Microsoft fixes this someday.
Once you’ve selected a layout and filled the positions with windows using Snap Assist, you can customise it further. If you hover over the area between two windows, a dividing line appears that you can move.
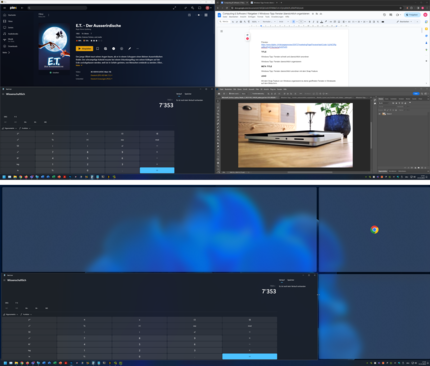
As you drag the divider, Windows automatically adjusts the size of all windows within the layout.
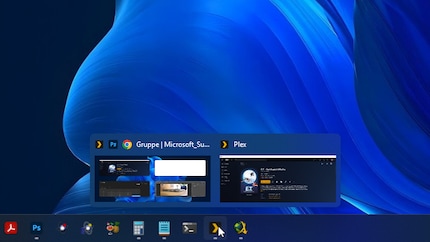
Once you’ve completely filled a layout with windows, Snap Assist turns it into a so-called Snap group. You can then see this Snap group in the taskbar when you hover over one of the programs in the group. Like this, you can maximise the Snap group again.
Want to minimise all your windows in a single click? Click on the empty space on the far right of the taskbar, next to the notification bell. Alternatively, you can press Windows Key + D.
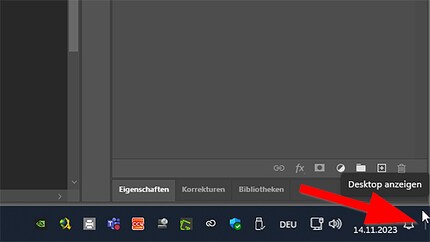
Repeat this to reopen all your windows in their previous layout.
Header image: Martin JudI find my muse in everything. When I don’t, I draw inspiration from daydreaming. After all, if you dream, you don’t sleep through life.